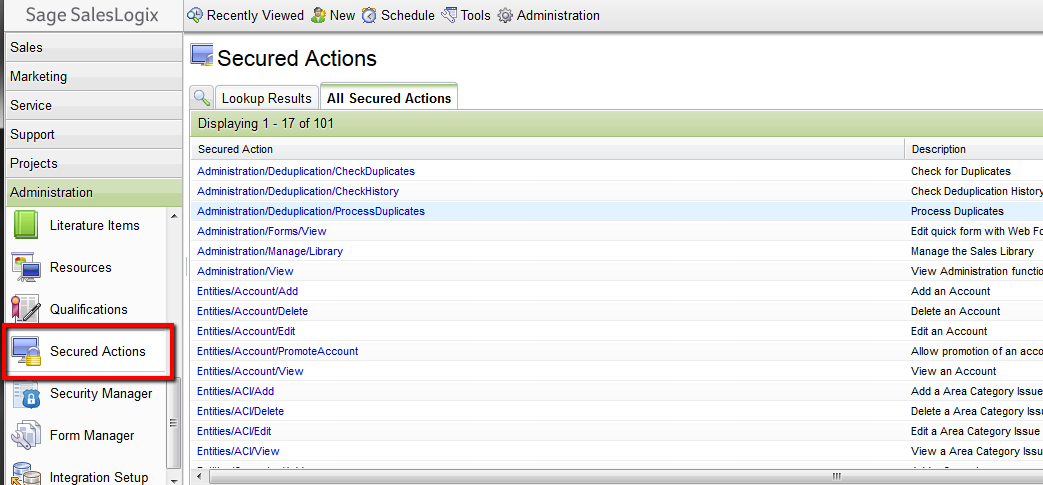
Using Secured Actions, you can restrict access to user interface elements in the Saleslogix web client. If you know which tables to look for, it is easy to package those modifications for installation into another Saleslogix system.
First of all, a quick review of how secured actions are set up…
In the web client, under Administration, you will find the Secured Actions area. From that button, you can right-click to create a new Secured Action.
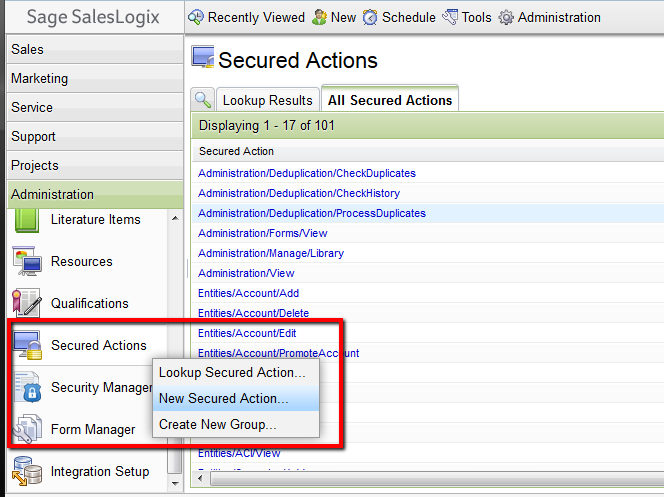
For our new action, I’ll name it Library/View and give it a description.

We can save our action now, but at this point it isn’t doing anything. In order to use this secured action, we need to set the Applied Security for the Library button. This is done in Application Architect.
Once we are logged into Application Architect, well want to look at the Sales Saleslogix portal. in the Project Explorer, expand the Portal Manager, right click on Sage Saleslogix and select “Edit Portal”. From the portal page, click the Navigation tab, expand Sales and select Library. In the Applied Security dropdown, you should be able to find the new Secured Action we created. Set that value, save the portal, then build and deploy.
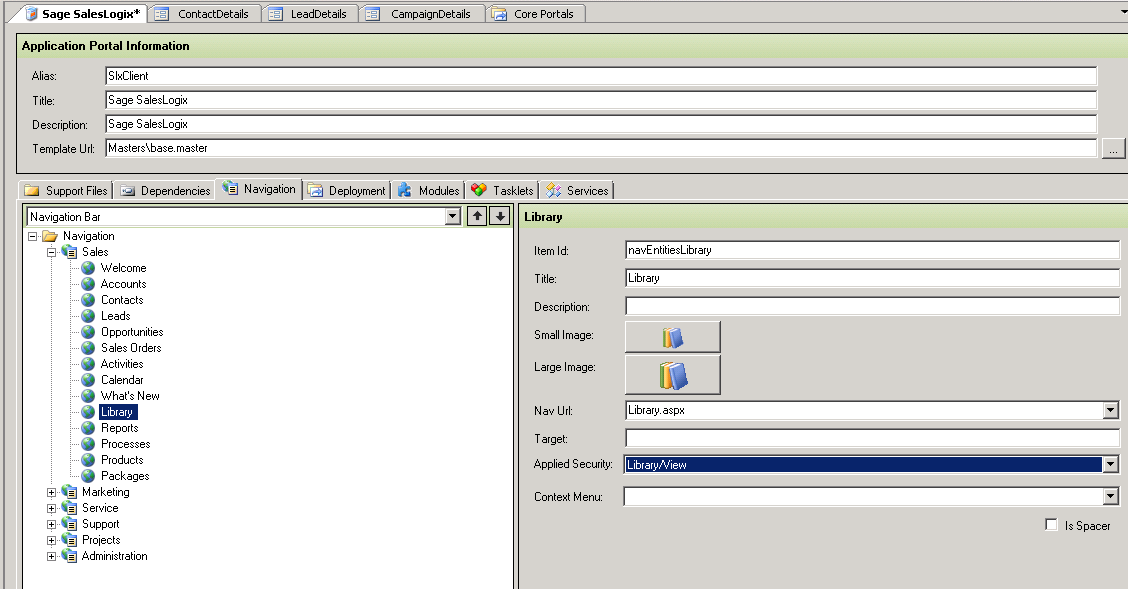
Now that we’ve set the Applied security for the button, we have to assign that secured action to a role. That role is then assigned to a user, granting them access to this button. Both of these actions are also defined in the Administration area in the Saleslogix web client.
Now, that’s all pretty straight forward, but what do you do when you want to package this action and set it up in another database? Other then creating a bundle containing the Sage Saleslogix portal, it is just a matter of including data from the appropriate tables, either in a LAN bundle, or as an action in a web bundle.
There are a number of tables that are in use with secured actions. First, you have the secured action table. This table contains the definition for the secured action itself. The Role table, holds the definition for each role. These two tables are related through the SecuredActionRole table. Finally, you have the UserRole table, which relates a Role to a Userinfo record.
In order to add a row from one of these tables, you can add them as an action in a web bundle. When creating a web manifest, click the “Actions” tab, and double-clicki “Insert Records”. On the Insert Records screen, select the table you need to grab a record from, check “Generate New IDs on Install”, and also click “Selected Records” in the Include area. Then it is just a matter of finding the specific record you want to add. For the Secured Action I created, I found the one named “Library/View”.
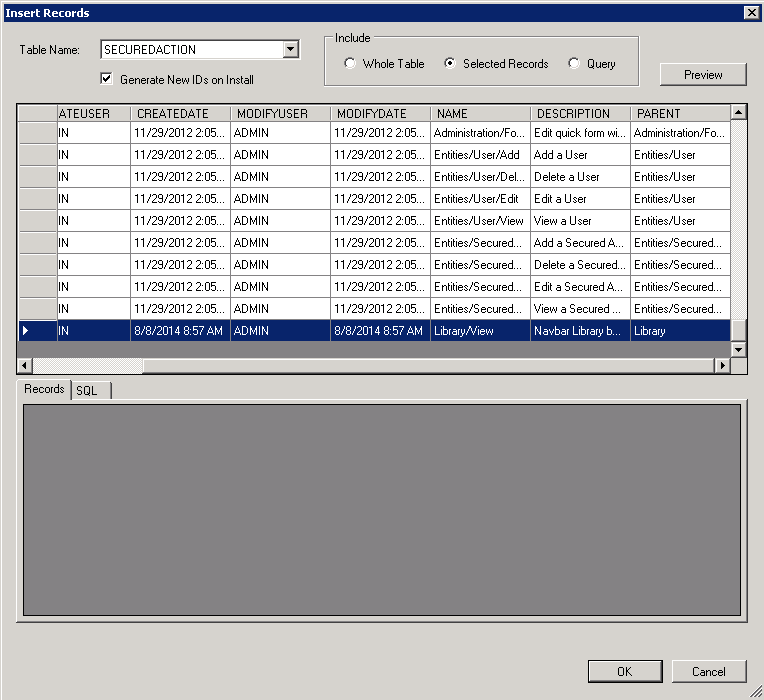
In addition to the secured action, you probably want to include the Role as well. One thing to keep in mind is that when using the “Generate New IDs on Install Option”, you cannot include a SecuredActionRole record because the Secured Action’s ID and Role’s IDs will not have been created yet. You’d be adding an orphaned record into that table. What you would need to do is create the Secured Action/Role relationship yourself once the bundle has been installed on the target database. In addition, you would also have to add users to the new Role.
And that’s all there is to it. Thanks for reading… I hope you find this information helpful.
Thanks!